Webajeb-Template-038
Here is one of my latest templates, free to my blog readers; you'll find the download link at the end of this post. For those of you who are keeping track, yes, the most recent templates have been posted
totally out of order. I have at least a half-dozen that I have not yet posted, but am hoping to get them up very soon. So keep an eye on this blog! Subscribe to it, or Opt In to receive e-mail notifications when it's updated; that way you won't miss any!
And, of course, some of them (all?) will be offered FREE here first, then eventually uploaded to my
online store. Right now I'm pretty slow about getting stuff into my online store - I don't know, lately I just haven't felt like doing the techie stuff but I'll get caught up one of these days. Oh, and don't forget, as of
this post, the links to freebies on my blog
never expire! {As I wrote in that earlier post, I haven't had time to go back and re-link all the freebies from all my earlier posts, so if you find a freebie you want and the link has expired, simply email me, tell me which item you'd like, and I'll send you the link.}
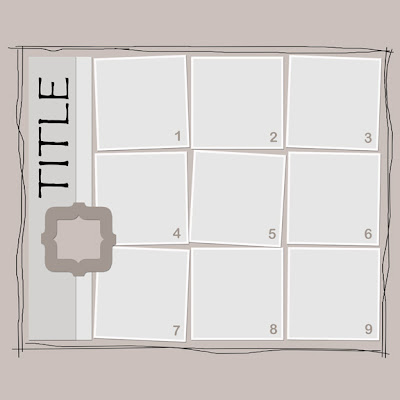
Ok, back to today's free template. It's a double-header! LOL, I mean a 2-page spread. I do LOTS of 2-page spreads - I love to have a unified look across both pages, especially in albums of specific events, like weddings. I use a 24 inch wide by 12 inch high document to create the 2-page spreads. I did the same for this template. The template document size is 24x12 and, as you can see, the title runs across the center divider. The template file includes a layer with a thin divider line - you'll want to hide or delete this layer before you print or publish the layout, the same way you hide or delete the layer with the photo numbers on it.
For those of you who prefer to work with single pages, I'm also including the template as two separate 12x12 documents (with the title moved to one page). Here they are:
left page
right page
Oh, and something new! In addition to the
Easier-to-Use features I've already added to my templates, I am now also including the name of the font that I've used in any text layers. I know how frustrated I get when I'm using a template someone else has designed, and they've used a totally cool font for their title and/or journaling and I want to use the same font, but don't know its name. So from now on in my template files that info will be included in the name of any layers that use fonts.
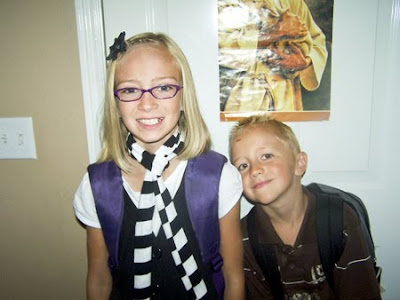
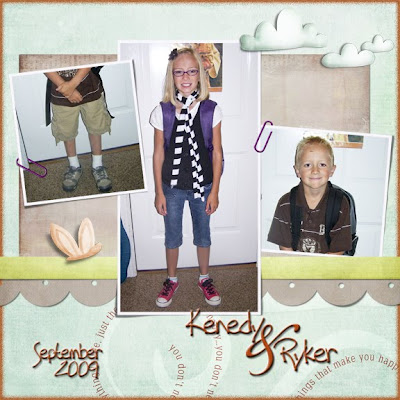
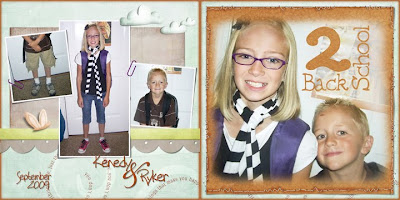
Here is today's template as I used it for a double-page spread in an album I'm currently working on:
Isn't that fun? You can see that I haven't hidden the divider line yet. I like to wait until the very last minute to do that so I don't inadvertently allow it to run through someone's face, or through some other important element.
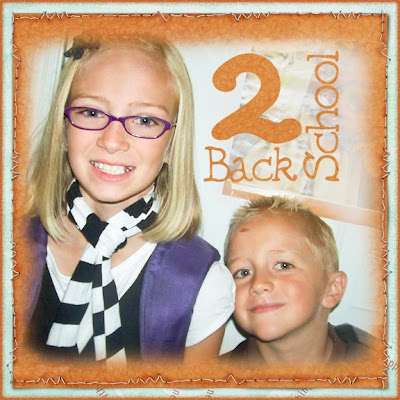
Here's a closer look at the pages after separation:
left page
right page
If you've never scrapbooked in the double-page format you're probably wondering how you're gonna print that thing. Obviously, you've got to split it into two documents first but doing that is a LOT easier than you might think. Here's how:
First, hide or delete any layers you don't want to print including the divider line and the numbers layer. Next, flatten the document. Answer 'yes' if you are asked whether you want to discard any hidden layers. DO NOT SAVE.
Select your crop tool and set its Width and Height parameters each to 12 inches, type 300 in the Resolution box and select pixels/inch. Hold down the CNTL key (CMD for Macs) and press the hyphen (-) key so that there's some room around the borders of your document. Position your mouse a little
up and to the left of the top-left corner of the document. Drag it toward
and past the center bottom of the document, then release the mouse button. Double-click inside the selection to accept it. You will now see ONLY the left page.
Select File,
Save AS, and save your layout under a new name (I usually just add an A to the existing filename), and in .JPG format for printing. Your new file will go into the folder you indicated, and the original .PSD file will remain open.
IMPORTANT STEP! In the History palette, go back to the step
before Crop (keyboard shortcut: CNTL-Z will take you back one step). Now repeat the cropping process, this time starting with the mouse position a little
up and to the right of the top-right corner and dragging, again, toward and past the center bottom. Select File,
Save AS, and save under another name (I usually just add a B to the existing filename), and in .JPG format (with Quality = 10) for printing.
Now you can Close (don't save!) your original double-page file. When asked if you want to save changes, choose No (else you'll end up saving your .PSD or .TIF file in the flattened format).
Download the double-page template from 4shared
here for .PSD and
here for .TIF.
{UPDATE: the individual page templates are included in each downloadable .ZIP file; sorry for the confusion!}
Let me know if you have ANY problems; I'm here to help!


